
Select Startup Application:
As I said earlier, there are several applications that starts with your windows , the launch of some of them start is perfectly justified as firewalls, antivirus, download manager. Others, however, may not be necessary as the Quick Start Microsoft Office, agents Winamp, RealPlayer, Java, or even the software installed without your awareness … You can simply stop them to make your boot faster. Here is how to do the same:
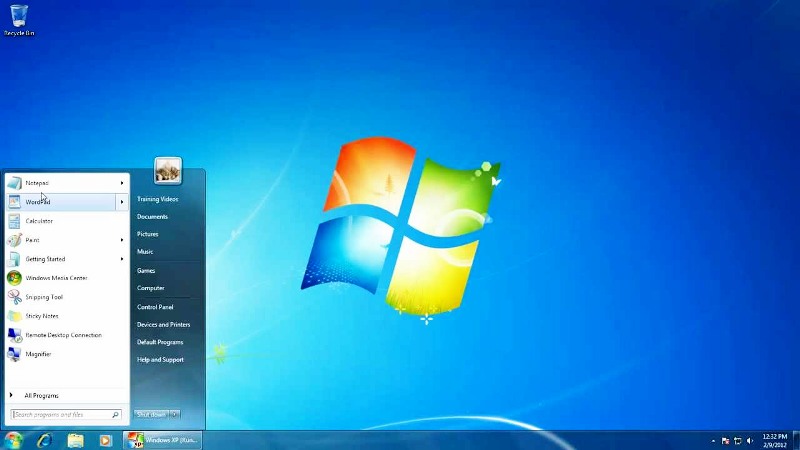
- Click Start, type msconfig in the search field and press Enter key
- In the window that appears, open the Startup tab.
- The list of all running programs at startup is displayed. Then uncheck the boxes to disable the software. Click on OK.
- Click Exit without restarting.
- If an error occurs, you can easily find the automatic execution of the software by checking the box again.
If you are using Windows 7, than probably its obvious you might be knowing why your system taking too long to start or get to the desktop. When Windows starts, many programs are loaded automatically. Some of them are firewalls, antivirus, download manager. Others, yet, may not be necessary and time consuming. The System Configuration utility in Windows will let you choose which application allow Windows starts and disable those.
You can also increase a few seconds to turn off automatic defragmentation of the system,that usually launch at the time you start your system. In fact, Vista and Windows 7 defragment system files takes place at every boot. However, if you regularly defragment your disks, this automatic function is useless and it slows the release of Windows.
At last, Vista and Windows 7 have an original function called ReadyBoost, that very considerably accelerates the loading of software by copying in a flash preloading external files optimized for Vista, 7, and every application. Actually, this function provides outstanding results when used with a USB flash drive fast.
With these tips, you’ll be able to increase a few precious seconds to boot Windows 7. Vista users can also go with these steps as it also works with the same.
Speed up loading of Windows and Applications:
Windows 7 and Vista have their inbuilt an original application ReadyBoost, which very significantly accelerates the loading of software by copying in a flash preloading external files optimized for Vista, 7, and each program.
In practice, this function gives excellent results when used with a USB flash drive fast (it is obviously necessary to leave permanently connected to a USB 2.0 port of the PC). Some manufacturers offer memory keys stamped logo Designed for Windows ReadyBoost, especially designed for this purpose, but you can also use this function with any memory stick, provided it offers high data rates in reading (at least 2.5 MB / s).
- To use ReadyBoost, plug your key on a USB port on your PC.
- Click the Start button and click Computer.
- Click right mouse on the icon for your USB drive and choose Properties.
- Open the ReadyBoost tab.
- Enable Dedicate this device to Readyboost.
- If you still want to store files on the USB key, specify using the gauge displays the amount of space Windows
- Vista or Windows 7 can devote to this function. Whenever possible, use the entire available space.
- Click on OK.
Disable Boot-Time de-fragmentation:
By default, Windows Vista and Windows 7 defragment system files at every boot. However, if you regularly defragment your disks, this automatic function is useless and it slows the release of Windows. To disable it, you must edit the Windows registry.
- Click the Start button, type the command regedit in the search box and hit Enter.
- In the editor that opens, scroll down the HKEY_LOCAL_MACHINE, SOFTWARE, Microsoft, Dfrg, BootOptimizeFunction.
- Double click on the value Optimizecomplete.
- In the Value data box, type No instead of Yes. Click on OK.
- Finally, close the window of the Registry Editor. The change will be effective from the next time you start Windows.


