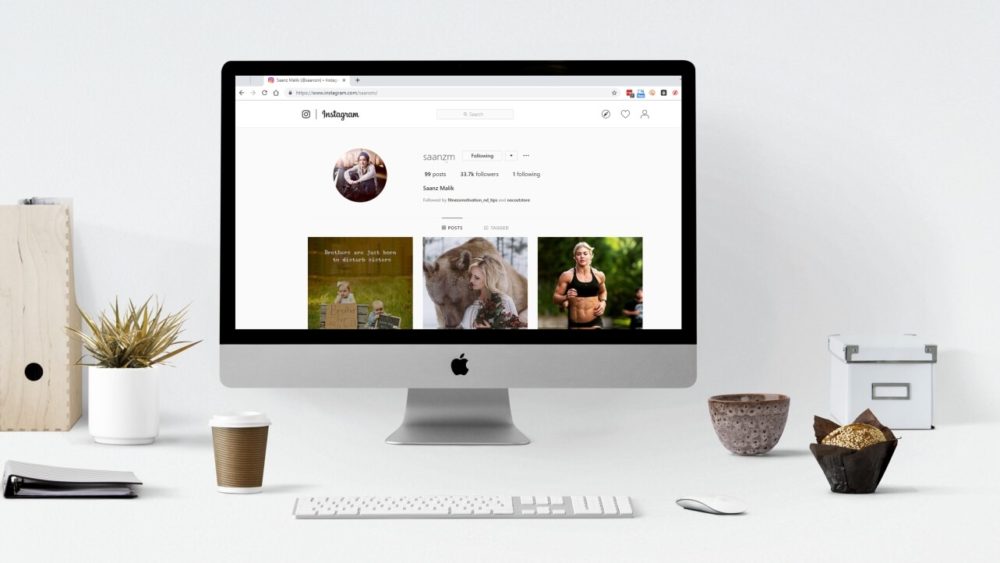
Uploading photos on Instagram is exciting for most of us. Getting more and more hearts and comments is so satisfying, Isn’t it?
Have you ever tried to upload a photo using your Desktop? If so, then you would have known how difficult it is to do that. In fact, in Windows, there is no such way to upload a picture using the mobile app and there is no Instagram app for macOS either.
Today, here in our post we will be telling you about the alternatives by which you can upload photos to Instagram from your PC or Mac. Perquisites for this guide is just a software that you will need to upload pictures from.
Using BlueStacks App Player:
I am sure everyone is having the Instagram app on their android phone and no need to mention how superbly it runs. You can run your Instagram app on PC using the Android Emulator BlueStacks App Player. The BlueStacks App Player is designed to enable Android applications to run on PCs running Microsoft Windows.
- You can download and install BlueStacks from Google. The initial start of the engine will take a few minutes.
- Next, you will be shown the tutorial. You can either skip it or read it.
- Choose the language of your application and move further.
- You will come across a window where you need to log in using your Google Account.
- Review the term and conditions and then click Ok.
- The next few options are optional you can leave them if you wish to.
- Click next and enter the name which will be your username of the app.
- Further, Go to Google Play Store and search for Instagram.
- Select the app and then install the app.
- Provide the permissions which the app requires to function.
- Later the Instagram icon will appear under My AppsTab. Click and launch the app.
- Now you have your Instagram app ready.
- Sign in your Instagram account and you will your Insta page.
- The orientation of the app might look a little different from the one you see on your phone but it’s just the same.
- You will see a Plus button at the right bottom. Click it and then select Gallery.
- At the top left, you will see “Others”. Select that and choose “Pick from Windows”.
- Open the photo that you wish to upload.
- You can now edit the picture by using options such as crop, add filters, or a Caption. And then share it.
Using Vivaldi Web Browser
Vivaldi is a web browser that offers the quickest and easiest way to upload pictures. It is quite a powerful newcomer in the web browser world.
This helps in opening the Instagram by running the mobile version of the app on the web, according to this site. You can access this method by just performing the below steps:-
- Download the web browser.
- Further, Install the Web Browser.
- Provide the information in the option that will further pop up on your screen.
- Go to instagram.comand then on the left bottom, click the “Plus” Button.
- Click the plus again and you will see the screen of Instagram on the sidebar. That will help in working with other sites also.
- Login to the account.
- Choose the “Plus” icon on the right bottom.
- Choose the picture you want to upload.
- Apply filters, edit the picture and tags as you wish them to be.
- And there you are ready to put send them on your Instagram page.
Now you can enjoy your time on social media on your PC also. Don’t forget to be safe on social media and online in general. To learn more about social media, click here.


