
We understand that the slow startup of the system is really frustrating. Since Microsoft has worked really hard in Windows 10, but still sometimes it takes a lot of time to boot up. Fortunately, these issues can be worked out. There are some ways by which you can tackle the slow booting of your Windows 10 system.
We have here compiled 6 ways using which you can make your Windows 10 boot blazing fast. Let’s take a look.
1. Turn Off Windows 10 Fast Boot Option
The Fast Startup option is basically supposed to reduce the booting time by pre loading the booting information before the system shuts down. This option is enabled by default in the Windows 10. But ironically, this option does opposite of what its name suggests. Many users have faced slow boot problems by this feature. However, this option doesn’t affect restarting the system.
To tackle this problem, you need to disable the Fast Startup option in your system. To do this, go to system Settings and open System > Power & sleep. Now, click on Additional power settings on the right side to open the Power Options menu from the Control panel.
On the left sidebar, click on Choose what the power buttons do. Provide the permission to change the settings, now click the message on the top of the screen that reads ‘Change settings that are currently unavailable.
Now, disable the Fast Startup option by un-ticking the checkbox and save the changes.
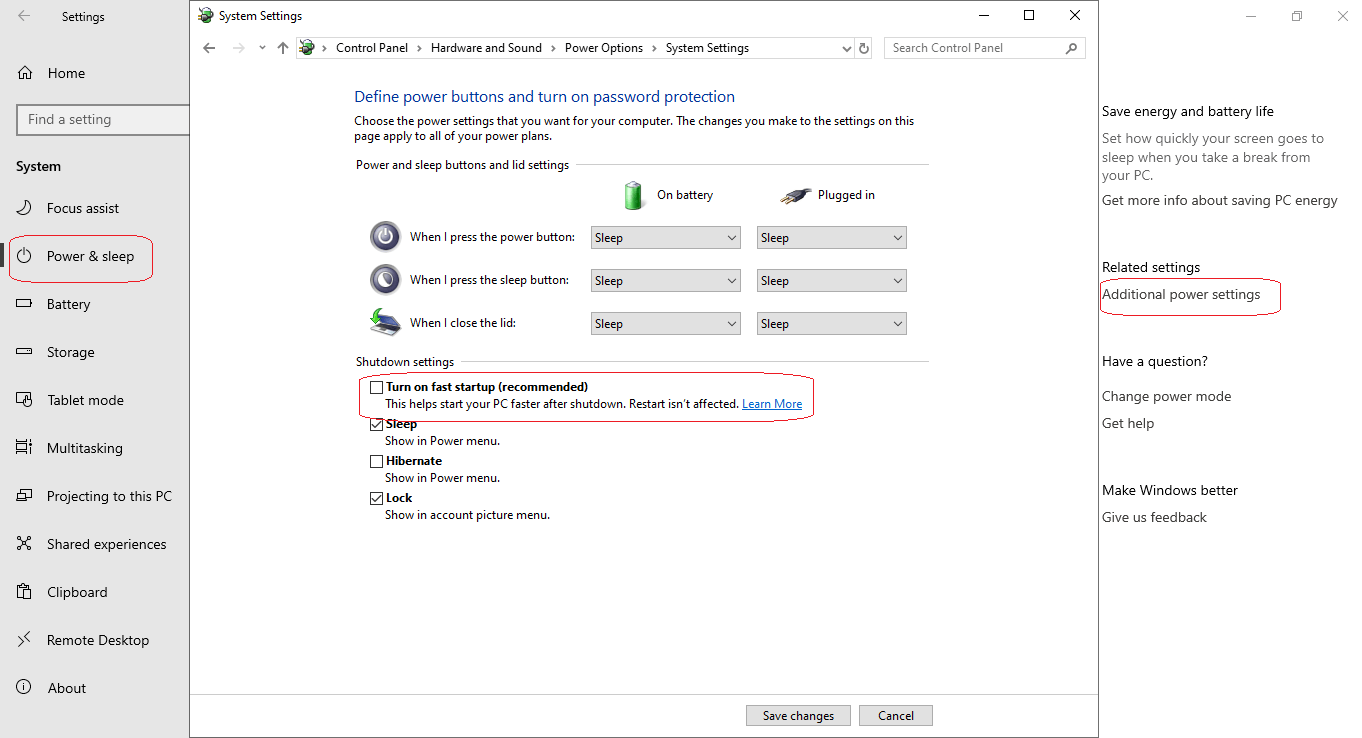
If you don’t find the Fast Startup option, then the reason is you don’t have the hibernation enabled in your system. To enable the hibernation you need to open the administrator Command Prompt or PowerShell window and right click on the Start button and select any one from the two options mentioned. Now type the below command to enable it and then try to disable Fast Startup again.
Command : powercfg /hibernate on
2. Change Your Virtual Memory Settings
Low memory is the first thing that comes to our mind while finding the reasons behind the slow booting of our computer. Virtual memory uses a portion of the hard drive as pretend RAM.
There are many evidences, where changing the virtual memory settings helped with the slow startup times of the Windows 10. Therefore, try changing the virtual memory settings causing the boot issues, in order to fix the slow boot.
To do this, Right Click My Computer and Select Properties. Now in the left pane click on Advanced System Settings. Under Performance Tab click on Settings button. Under Advanced Tab, click Change in order to edit the ‘size of the paging file’, which you will find under the Advanced file.
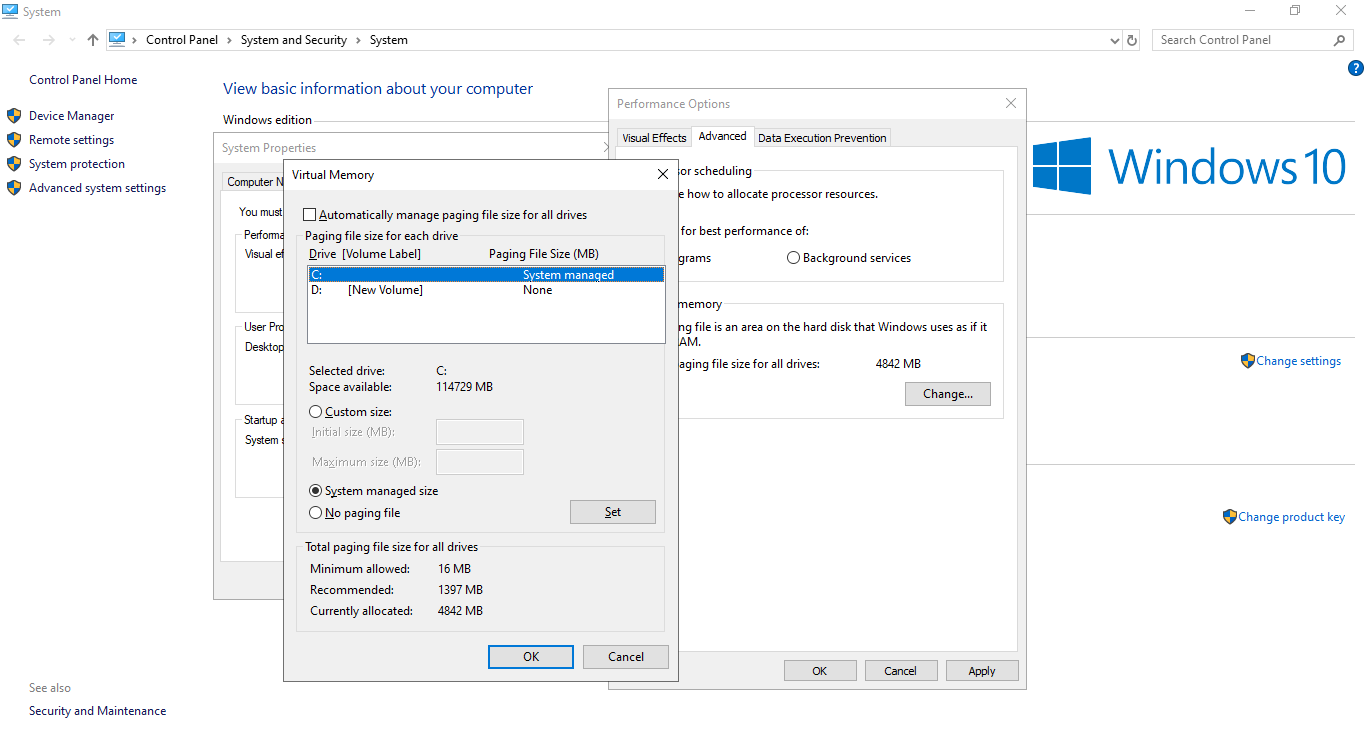
After that at the bottom of the resulting window, you will find a recommended amount of memory along with a current allocated number. If you are facing the slow boot issues then your current allocation number may be higher than recommended.
If this is the same issue with you, then uncheck the Automatically manage paging file size for all drives to make changes. Now, select the Custom Size and then set Initial Size and Maximum Size as per the recommended value below.
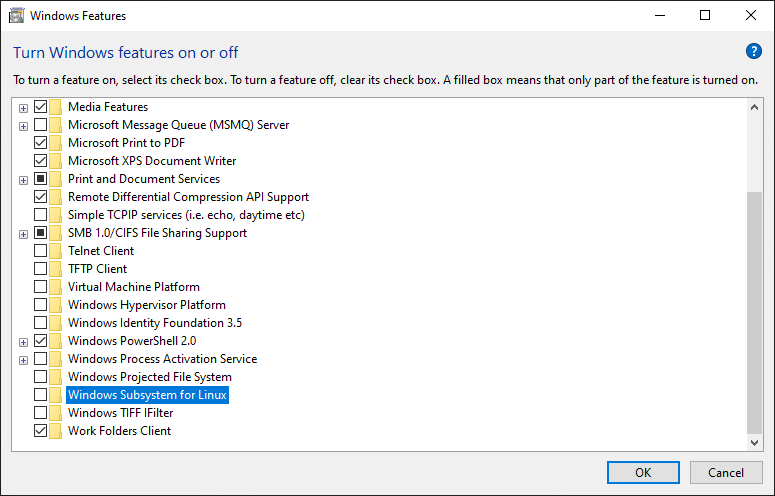
3. Turn the Linux Shell off
Although the Linux shell is very useful as well as exciting for the developers, it can be the reason behind the slow booting problem of your system. Windows 10 users has recently got their hands over the Full Linux terminal, however, this feature is not enabled by default.
So if you are not a developer, and don’t really know the use of Bash terminal, then you should turn it off. In order to turn the Linux terminal off, simply type Windows features in the Start Menu for opening the Turn Windows features on or off menu. Now go down to the Windows Subsystem for Linux, uncheck it, and save changes.
Moreover, if doing this helps you with your slow booting issues but you still need the Linux shell, then try downloading the other Linux tools available.
4. Try Updating your Graphics Drivers
Updated drivers can fix the slow boot issues sometimes. So, it’s a good idea to update the graphics driver. The Windows 10 upgrade, update the hardware drivers automatically. But, this comes with its own consequences.
For updating the drivers, go to the Device manager by right-clicking on the Start button and then select the Device Manager. Go to the Display adapters to know the graphics card you are using currently.
There are many softwares available for checking the updates for PC but in case you don’t have one, don’t worry!
In the later case, you need to visit your vendor’s or your computer’s manufacturer website. Then, Install the new versions if you are using integrated graphics.
5. Get Rid of Unnecessary Programs from Startup
Many unnecessary starting programs can be the reason for the slow booting of your system. So, if you are not facing the boot issues by the other reason listed here, then you should try removing some of the unnecessary startup program.
There are a lot of programs which set themselves to run at the time of booting automatically.
The problem will become worse if you have too many programs loading at time you login to your system. Try removing these problematic programs, if that works by fixing your slow boot issues.
6. Perform RESET – If nothing works for you!
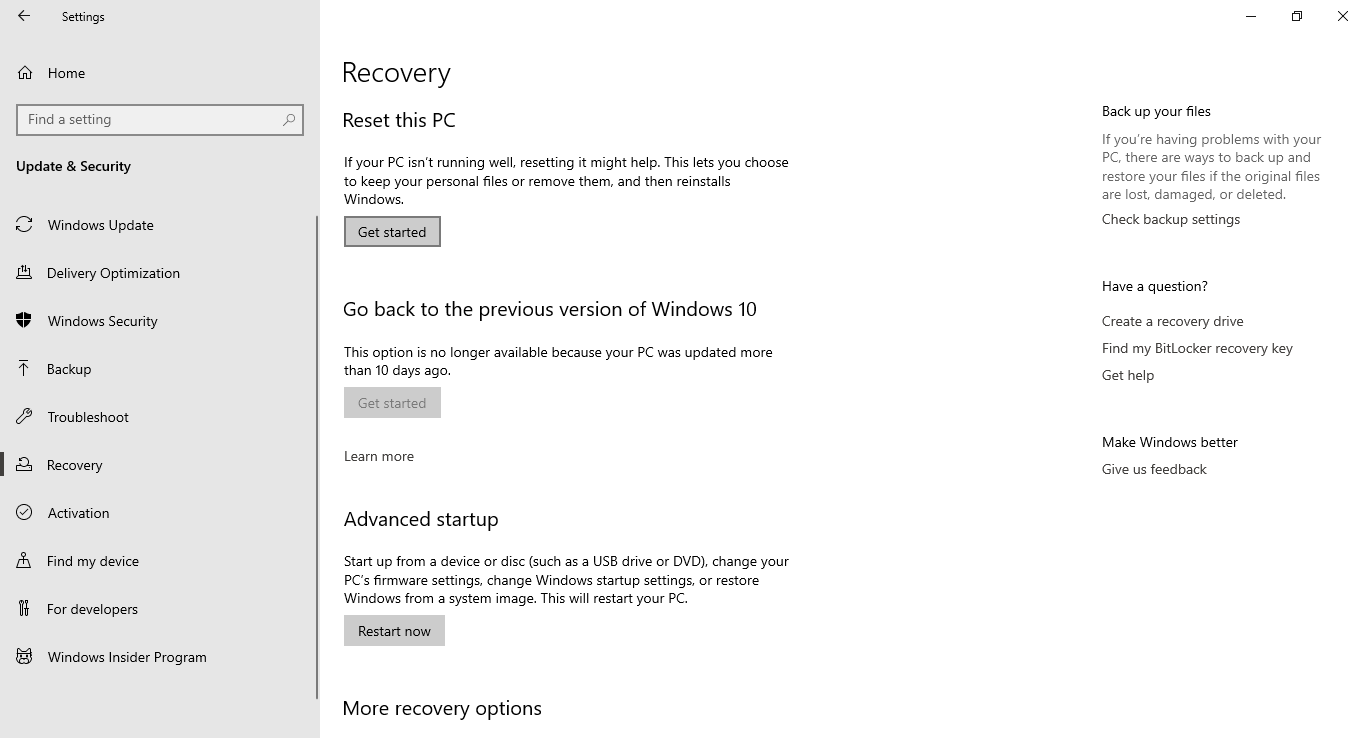
If you’ve tried all the ways mentioned here but nothing worked for you and you are still struggling with the slow booting time, then you should stop by here and get yourself a fresh copy of Windows 10 by performing reset on your system.
There are many ways to reset your system. The best way is to use the built-in Refresh option to reinstall the Windows. The good thing about using this method is that, you will reinstall the windows without losing the existing files on your system.
But to be at the safer side, we still recommend backup your useful data before jumping on to the reset.


