
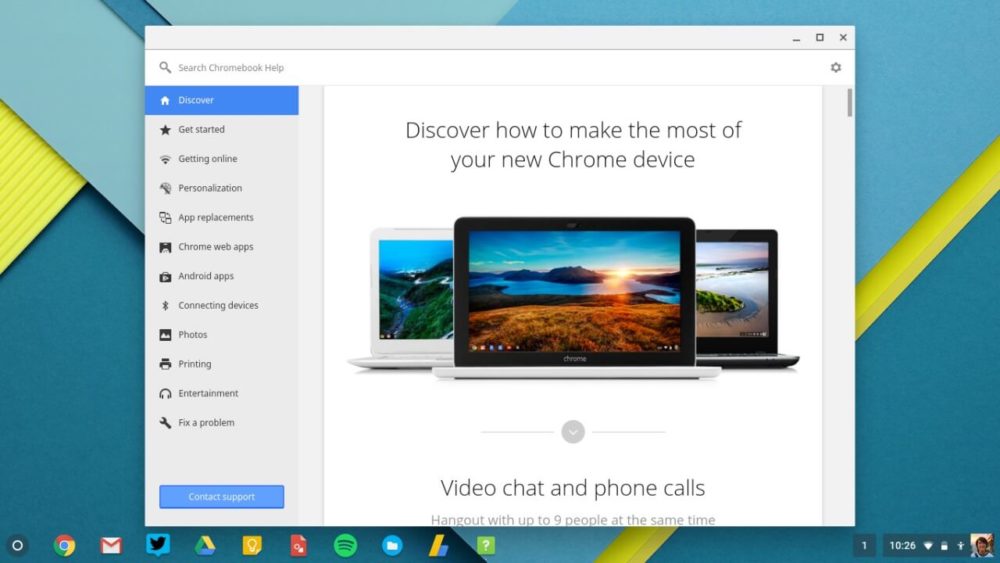
Google’s ChromeOS is one of the lightest and fastest operating system to work on. But it comes pre-installed only with Chromebook which use to be usually very costly to afford for everyone. I’m sure you would have thought atleast once to experience it too. Now, If you think that to get your hands on ChromeOS you need to buy a laptop, then you are wrong.
What if I tell you, you can actually enjoy the features of Google Chrome OS by using your USB drive? Yes! You read it right. In this article we will provide you a step by step guide to run Google Chrome Operating System using your USB drive. So, without wasting much time, let’s get started!
Although, the way we are going to try this out is not something that is offered by the Google, but it is a way that developers found out. You don’t need to format or overwrite your existing operating system. This works directly from the USB Driver over your existing OS. The procedure will work with any Operating System you have including Windows, Mac and even Linux.
Here’s How to Run Google Chrome OS using USB?
To run Chrome OS from USB drive, we need to create a bootable USB drive with Chromium OS disk image. But before jumping on to the step by step guide, make sure you fulfill the following prerequisites:
- A USB Drive of at least 4GB capacity
- Etcher Image Burner for Windows, macOS, or Linux
- Working computer system with a USB port
- Any Zip extractor as per your existing Operating System.
We recommend that if you have important data on your USB then save it somewhere else because the drive will be erased completely in this process.
Download the Latest Chromium image
Since, there is no Official Chromium OS build you can download; therefore, you have to find an alternative source. You can download the one from here.

Extract the Zipped Image
Now, you need to extract the downloaded Chrome OS Image file on your hard drive using the 7-Zip or any extractor app.
Format the USB Drive
After extracting the Zipped images, plug in the USB drive to the port and format it as FAT32. This is not difficult as it seems. The process is easiest in Windows. Just insert the drive, right click it and select Format. Make sure you choose “Fat 32 Default” under file system and click on start.

If you are using Mac OS, then the built-in Disk Utility can format it as FAT32 or “MS-DOS FAT”. Just in case you are facing any problem formatting the drive, simply download SD card Formatter app and format your USB Drive.

If you are using Linux OS, then use GParted app. Format the drive using the GParted .
Download the Etcher and Install it.
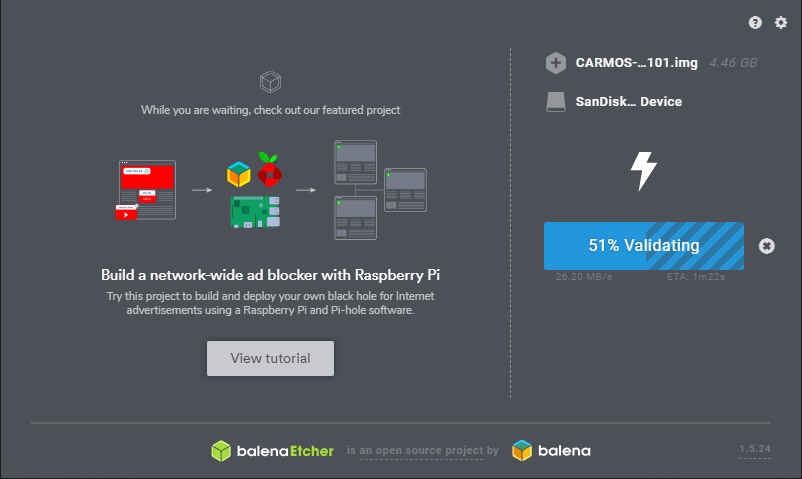
Although, there are a lot of softwares to install ISO Image to the USB Drives but we recommend using Etcher as it is the best app, as per me, in such scenarios. The good thing about Etcher is that, it works in the same way for Windows, Mac as well as Linux. It also validates the image burning on USB drive, which is great. You can download the Etcher app from above provided url.

Install Chrome Image using Etcher
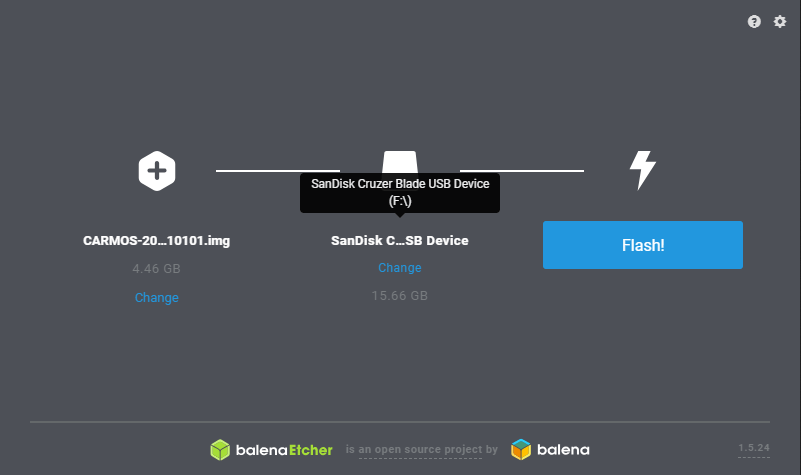
You are mostly done with everything. You have a fully formatted USB drive, Image installer and an extracted image of chromium OS. Now, all you need to do is to launch the Etcher and browse to the Chromium OS image file and then add it to the Etcher.
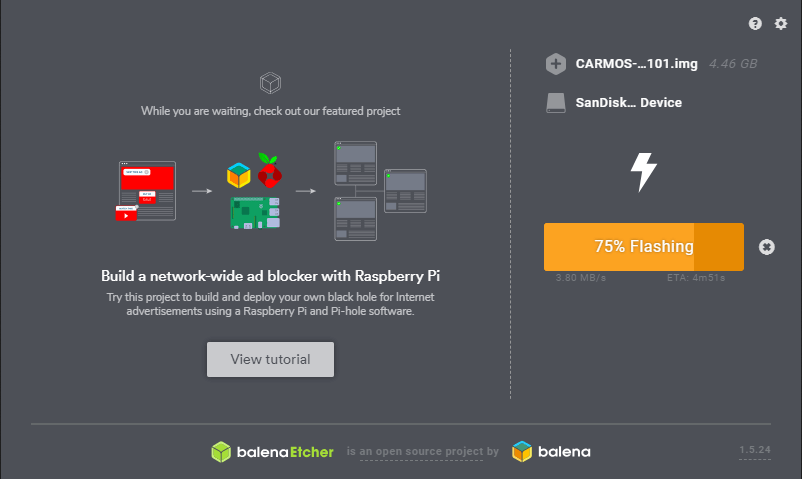
Now, click on Select Drive and select the USB Drive you want to use as bootable. Click on the Flash to start the process of installing and validating the same process. Write to USB drive using Etcher and once it finishes, you will have a bootable USB drive with the Chromium OS image.
Reboot in BIOS and change Boot Option
Once your USB Drive is ready with Chrome OS, reboot your computer and enter BIOS. You can do so by tapping F12, Del, F8, F5, etc. Every computer has different key settings for BIOS depending upon Motherboard.
Once you are in BIOS, go to Boot Menu and change your settings to set your USB Drive is Primary Boot Device.
For Mac OS: At the time of rebooting, before the system restarts, keep holding the Option key. Don’t worry if you see a black Screen, that’s completely normal. Keep pressing until a boot menu appears and you will have to select between the options like Macintosh hard drive or USB drive. The USB drive is generally denoted by “EFI”.
Boot the Chromium OS
From the BIOS Boot menu, select your USB Drive and hit Enter key to Boot from USB. Your PC will now boot from the created bootable USB drive and you can enjoy the features of Google Chrome OS without overwriting your existing Operating System and Hard Drive.
In this way, you can enjoy the Google Chrome OS features without actually buying a Chromebook. Chromebooks are best suited for beginners as their first computer and also for kids.
In case you are worried about the complicated booting process, don’t worry about it. This will happen only for the first time, you will go directly to the login screen of your system from the next time onwards.
You can Run any Operating System from a USB any time. Thus, if you are carrying your USB drive with the operating system you like, you can turn any other system as your own PC – which is the advantage of running any Operating system from the USB drive.
So, this was all about it. We hope you successfully run the Google Chrome OS on your existing computer. Tell us in the comments about your experiences while running OS from USB drive. For more such detailed guides, keep reading on oceanup.co.


