
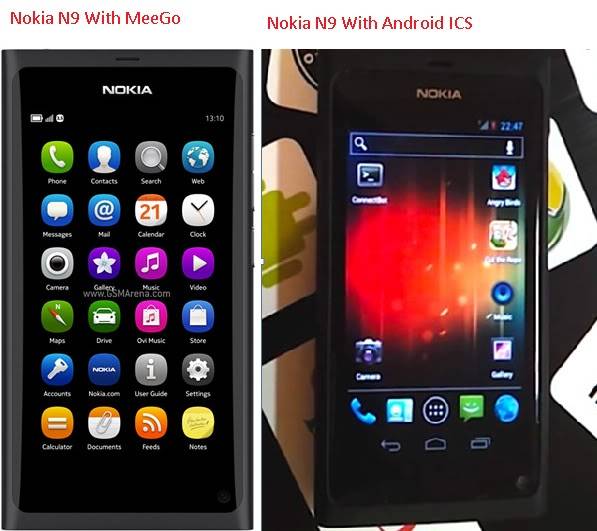
Nokia N9 is one of the best smartphones available in the huge range of Nokia mobiles. It features Meego operating system by default. But as we all know Android is becoming the boom in users interest, there are many users who want to use Android (specially the latest Ice Cream Sandwich) without leaving the Nokia handset. Hence, here I’ll explain the step by step process of installing Android 4 on your Nokia N9 so that you can taste it without leaving your Nokia loyalty.
Before I start the processor I must say that the firmware Android ICS 4.0.3 released for Nokia N9 is still in Alpha version, that is also known as Project Mayhem is released for testing purpose that can contain some bugs. So don’t panic, just relax because we are going to do in dual boot that will not at all harm your existing operating system .
Things you required before going for the process:
- Backup your entire device including SD card and Phone memory, settings, etc.
- Charge your battery full, because if battery got down during process it may harm your handset.
- Download and Install dual-boot kernel.
- Download and Install sillyboot.
- Download and Install Tarball.
Now, once you are done with the above steps, time to go for the actual process.
Installing Android ICS 4.0.3 Firmware in Nokia N9:
- Make sure you have already installed DualBoot Kernel and Silliboot as mentioned above.
- While downloading Tarball, just make sure to check its integrity and md5 Sum for this archive. Its MD5 value should be “ee57d8c3b9199e87bb5c355e8c9d1cc3”.
- If it is ok, transfer/copy this archive to your handset using USB cable or Bluetooth.
- Now execute its ‘as root’ command like below:
tar xjvf /path_to_archive/nninedroid_ics_alpha1.tar.bz2 -C /home/
- Now Reboot your handset.
- While booting as soon as you get the message saying “Press VolUp to boot alternative OS" , quickly push the "Volume Up" key.
- Now wait for few minutes until the device boots properly in the OS.
- As soon as boot up, first of all go to Settings > Display > Sleep. Change the sleep time to 30 Minutes. This is very critical because if your device went to sleep, it may be dead.
- Now download ‘Android Debug Bridge’ (ADB) on your PC and type in the below Commands:
adb connect 192.168.2.15:5039 — connect to your device. USB/ADB is broken, but ADB works well over USB networking.
adb logcat -b radio — for reading “radio” log
adb shell — to enter to shell
adb pull/push — allow get/put file from/to the device
adb shell rr — “restart radio” — restarts ofono and RIL
adb shell bb — show battery/charging status
Thats it. You are now using your Nokia N9 with Android ICS.
Once you are done with steps mentioned above successfully, simply restore your backup taken before the processor. Now enjoy Android ICS on Nokia Device.
As we always say in our articles, if you don’t have any rooting experience, than just don’t try the above steps. Because if made any mistake, your device will be dead. Any harm caused during this process will not be responsibility of the developers or us.
You can get more info about the same in this video:


