
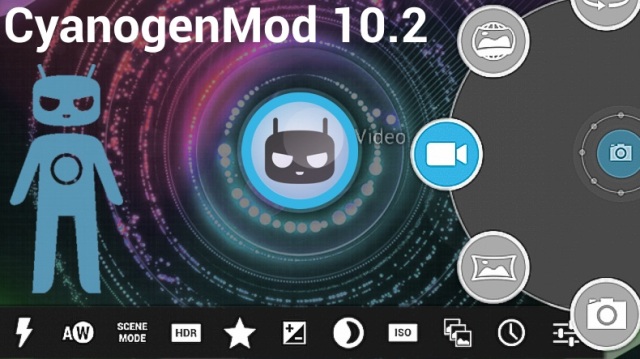
Galaxy Tab 2 is a amazing budget tablet. It offers you two models. One is the 7inch which is portable and sleek and the other one is 10.1inch which is bigger. Now you can have the latest Android 4.3 Jellybean OS on your device. But this is a custom rom method. That means to use it you will have to root your phone. Officially Samsung has not provided any kind of new OS update for the tablet. But thanks to Cyanogens Mod 10.2 which is amazing. This new rom is now under RC2 edition which is out for people. The new custom rom features the latest Android update and lots of extra features. So here we are going to go ahead with a custom rom installation on Galaxy Tab 2 10.1 inch.
The rom comes with a new Android 4.3 firmware which is tested and termed as better. It comes with many new features like parental control, multi-user interface, user switching, custom app, battery boost, advance security, etc. It is a advance rom which also offers you a direct YouTube Video streaming to an Wireless display on HDTV. You just need supported hardware for the same. It is loaded with many new customization options giving out great features. Also even after being having all kinds of new thing this app works really well and offer a fast smooth response. It is not laggy or poor in performance. You can get a much enhanced version of Google Now with Android Beam. This app provides you a simple multimedia sharing options. Additional things added in the device is Photosphere and Gesture typing.
Installing Custom rom is a un-official method. That means it can void warranty and if not performed properly you might face problem with device boot. So everything here lies on your own risk. It is necessary that you properly download all the mention files and follow requirements listed below to stay on the safer side.
Pre-Requirements:
Before moving ahead with the installation process follow the below steps:
- Download CyanogenMod 10.2 RC2 Rom. Galaxy Tab 10.1 comes in different model. A different rom is provided each of them. If you are unsure about the model go in Settings > About Tablet. If your model does not matches anyone before skip the entire process.
- Download GAPP. GAPP is Google APP Package which installs all essential apps in your phone after custom rom installation. – GAPP Download
- Root your device. You can do that by Super Root applications. Without Rooting this process will not work.
- Install CWM in your device. Essential tool to boot your phone in Recovery moa for ROM installation.
- Once the device is rooted install a good Backup app. Like Titanium Backup. This app allows you to backup everything. Backup the existing ROM on your memory card and copy it at some place. If the process fails or some issue appear with the help of CWM you can restore the original stock rom back.
- Install Nandroid Backup also in your device to effectively backup ROM from Recovery mode.
- Install Samsung USB Drivers in your PC. You can download that from the official site. Or just install Samsung Kies.
- Go in Settings > Applications > Development and enable USB Debugging.
- Ensure that your device has maximum battery left. Do not go ahead with rooting process on low battery life.
- Press the Volume UP + Power Key to boot in Recovery mode. Turn off the tablet first and then hold the keys to boot.
- Wipe Cache Partition and Wipe Dalvik Cache.
Installation Process:
- Connect the tablet to your PC and enable USB.
- Copy all download files in the Memory Card. Ensure that you remember which location it is kept.
- Once done disconnect and turn off the tablet.
- Now hold Volume UP + Power key to enter Recovery Mode. You can also use CWM app to boot in recovery. Just choose restart in Recovery Mode from the app.
- Run Nandroid Backup. The process will copy the entire stock rom of your device to a memory card in zip form. The same will be used to restore if any serious issue appear later on. Do not skip this step.
- Now run Full Data Wipe and Factory Reset. Now launch CWM Recovery
- From the main menu wipe Cache Partition and Dalvik Cache. You can find this under Advance.
- Once done select install from Zip card. And select first CyanogenMod 10.2 RC2. You can use the volume key to navigate and then hit the power button to select. The process will take some time to complete.
- Then choose GAPP Zip.
- Now if everything goes well the ROM is installed. reboot your phone and enjoy the latest Android 4.3 Jellybean OS on your device.


