
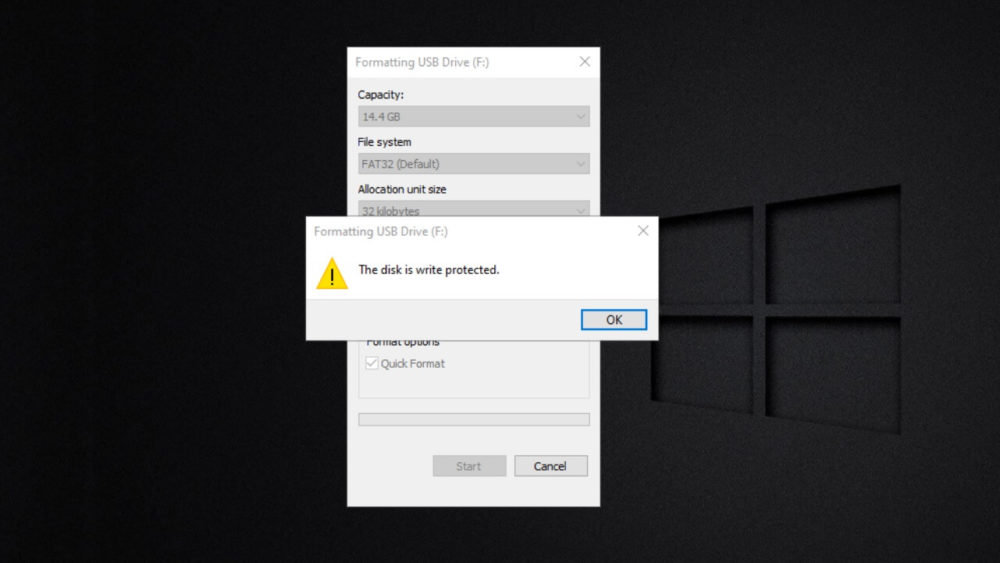
There are times when we try to save data on the USB drive but we get a message that the drive is “Write Protected”. If you are also facing the same problem, then you are at the right place.
In this article, we are providing you the ways by which you can format your “write protected” USB drive easily. We are also providing some effective and efficient tools that will help you do the same.
When the USB drive is write protected, you will not be able to save the data onto the disk and you cannot even format it in such case. And the worst thing is, there is no mechanism for enabling /disabling the write protection on the USB flash disk.
But, here are some ways by which you can successfully format your write protected USB drive and can use it again. So, without a further ado, let’s get started!
Some Perquisites:
Before formatting your write protected USB drive, first make sure that whether it is actually write protected or corrupted. There are also some other cases which are equally responsible if you’re facing problems with saving data on to your disk.
The other reasons we are talking about are, your USB port may be defective, and in this case you can easily fix it by putting some efforts. Whether it is a USB flash stick or SD card adapter, we are providing some ways to fix a corrupted drive.
USB Drive or SD Card:
You must know there’s a little difference between formatting a USB Drive and an SD Card. The below guide is for both, but if you have a SD Card, there’s one extra thing you must do before proceeding to the below Guide.
There use to be a Slider Lock on all SD Cards now a day. If the slider is below, it means the SD Card is locked for doing anything. Meaning, you cannot do anything on your drive, can’t even format it. So, before proceeding with the below steps, you must unlock the SD Card by sliding the slider above as shown in the below image.

Remove USB Write Protection using Windows Diskpart Tool
First step you need to do is to insert your USB flash drive into your USB port. In case you don’t know what Diskpart is, it is basically Windows built-in disk partition management system.
Start by going to Start Menu and type CMD. Press Enter or even better Right click and select Open as Administrator . After that you will need to confirm the action prompted by User Access Control. Press yes to confirm.
In opened Command Prompt, type diskpart and press Enter
On doing so, you will find a new command line window with a Diskpart prompt. Now, you will need to find out the disks that are connected to your system.
Enter the command: list disk

On entering this command, you will get a table containing the list of connected disk. Find out which one is yours, disk 0 will be your system’s disk. This is the drive on which your windows are installed. The multiple partitions will also be listed and numbered in a sequence along with the size of each disk.
Now, your connected USB drive should be listed there. You have to identify it with the Size given. This is very crucial. You have to be sure which one is your Flash Drive. Once you are sure about your USB disk then select it by entering the following command (in our case, its Disk 1)
command: select disk 1

On entering the command, confirmation messages will Pop Up saying ‘disk 1 is now the selected disk‘. It is the time to request attributes by entering:
attributes disk
You will see a lot of details on entering the above command. Check the first line; it is your current Read-only State. The Read-only state will be marked YES, if you’re unable to write to the disk or to reformat it. By entering the next command, you can remove the write protection from you USB flash drive.
Type: attributes disk clear readonly
Next you will a message saying “Disk attributes cleared successfully” if the command run successfully.

Now we will go to format the drive. You can do so using Diskpart’s ‘clean‘ command. For this, first select your disk by entering :
select disk 1
and then type clean followed by Enter
Now, you can create a partition and format it by entering the command:
create partition primary
format fs=ntfs
And voila!! You now a have successfully formatted your USB flash drive. You can confirm the write-only status of the drive by copying a small file for checking purpose.
If by any chance, the above mentioned methods didn’t worked for you, then here are two free tools for formatting your write protected USB drive. If you are too lazy to use the command line, then these tools can work for you.
1. SD Formatter tool
This is the best formatting tool specifically used to format the SD cards but can be used to format the USB flash drives too because the USB flash stick is nothing but an SD card wired to a USB interface.
All you need to do is to connect the device and choose the drive along with the formatting option and click on Format.

And you are done!
2. Kingston Format Utility
This Format Utility tool works specially for older versions of Windows, from Windows XP to Windows 7. Also, this is ideal utility tool for Kingstown devices.
However, the installation of this tool is little complicated. You need to download the tool and then run the EXE file and then browse to select the location such as desktop or documents. Click on Unzip, and go to the new location and select Kingston Format Utility. exe by double clicking on it.
The app will launched and after that simply select the device and the File system from the drop-down list. Now, Click Format and wait till it’s done.


