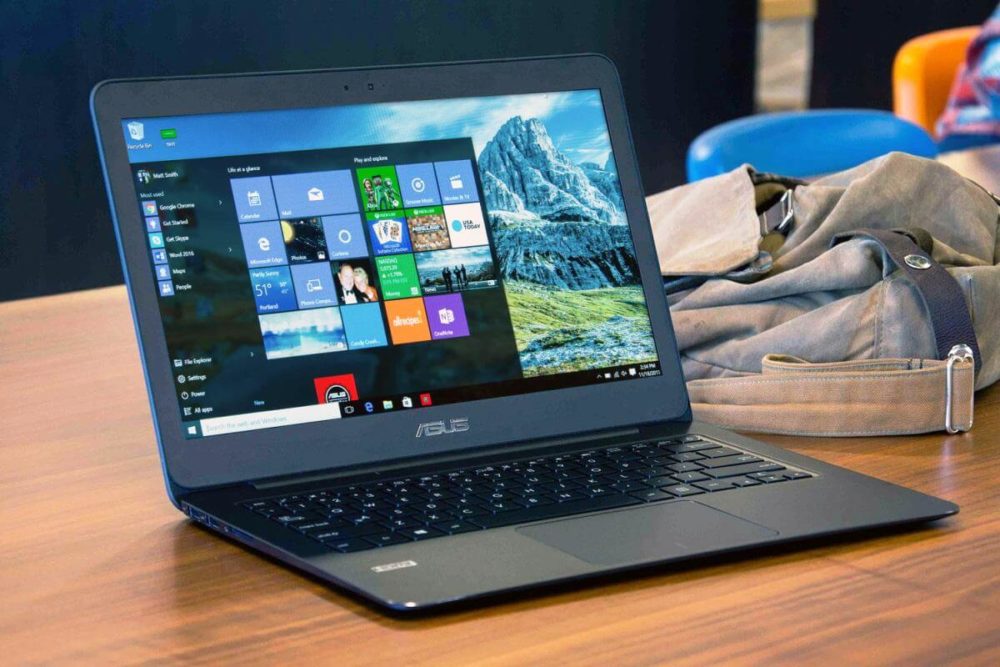
There could be thousand reasons that make Windows 10 the best operating system so far. It comes with so many handy stuffs that makes your personal as well as professional lives much comfortable. One of such feature of Windows 10 is, it lets you Remotely Shut Down or Restart your Computers connected on the same LAN. You don’t need to go to every system and shut them up. Just sit at your own system and take care of other PCs remotely.
If you are one of such guy who have to take care of several computers at office or in the house, this guide is for you. Here’s how you do that:
How to Enable Remote Services:
Windows 10 system comes with remote registry service which is Disabled by default. You will have to enable the same on every PC which you want to control Remotely. To enable the same, simply follow below mention steps.
- On your Windows 10 PC, press Win+R and type services.msc followed by Enter.
- Go to ‘Remote Registry‘, right click and select Properties
- Under General Tab go to ‘Startup Type’ and change it to Automatic.
- Click Apply and then Click on Start.
- Now gain go to Start Search Box and type “Allow an app through Windows Firewall“. Click Enter on the result.
- In the opened Firewall window, click on “Change Settings” and enable Windows Management Instrumentation (WMI) .
- Click OK and you are done.
Shutting Down Remotely
To remotely shut down your PC, follow these simple steps:
- Type Command Prompt or CMD in Start Search and press Enter
- Now type Shutdown /i
- It will ask for the names of PC which you want to shut down or restart. Just Specify the same and done.
Shut Down or Restart using Command Line
For this method, you have to make some changes in the Registry. Note: Don’t do this unless you know what you are doing because any error in Registry may create serious problems to your PC.
- Go to Start or Press Win+R key. Type regedit followed by Enter.
- Now to go to “Computer\HKEY_LOCAL_MACHINE\Software\Microsoft\Windows\CurrentVersion\Policies\System“
- Right click the System Folder > New > DWORD (32-bit) Value
- Rename it to ‘LocalAccountTokenFilterPolicy‘
- Now double click the same and change its value to 1
- Now close the Registry window and Reboot your system to take effect the changes.
Your LAN computers are fully accessible to you. You can Reboot or Shutdown them remotely now.
However, there’s a last step you have to perform. Here it is:
Open Command Prompt as an Administrator. You can do that by typing CMD in start > right click Command Prompt from the results and click Run as administrator
- Now type net use \\MachineName and press Enter to log into the Remote computer
- Now type your Username and Password
- Now type shutdown –r –m \\MachineName –t -01 and hit Enter
That’s all. Now you don’t need to visit every PC in your home or office to reboot or shut it down. Do it from one place using your Windows 10 computer or laptop. You can also restart or shutdown any background process by adding the following command: shutdown /m \\ MachineName/r /f
If there are particular number of PCs that you have deal everyday, then you can even create a Batch file for faster process. Just run the file and all commands will be executed. No need to deal with each of the above mentioned commands one by one for each computer. Doesn’t that sounds great? Of course. So, let’s create a Batch file to Remotely Reboot or Shutdown Windows 10 PCs:
Go to Start or press Win+R key, type Notepad and press Enter.
Now type the following in the notepad.
shutdown –r –m \\PCName1 t -01
shutdown –r –m \\PCName2 –t -01
shutdown –r –m \\PCName3 –t -01
In these commands, letter ‘r’ is to Reboot your computer and PCName is your Computer Names. You replace ‘r’ with ‘s’ to shutdown. And don’t forget to replace PCName with your system’s name. Enjoy !


